Dungeon Maps/Gorgols
 Level 100+ · 1–5 players · 45 minutes · 15 layouts
Access: Complete Lord Urjuke missions.
Final boss: Gorgol Master
-
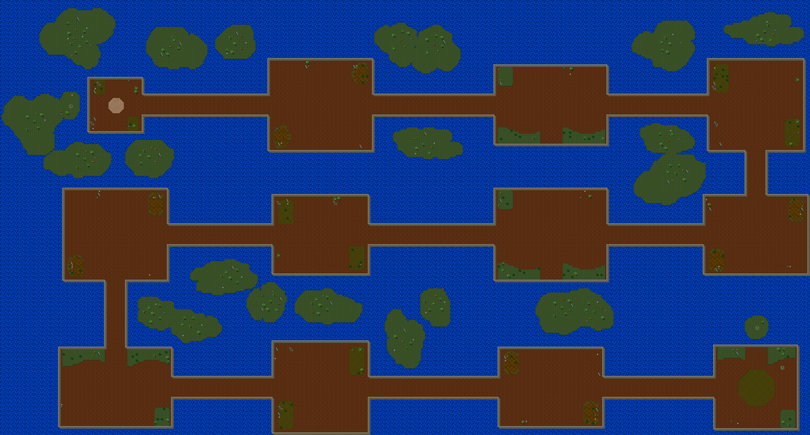
Gorgols — L01 Serpentine. Click to inspect the full environment.
-
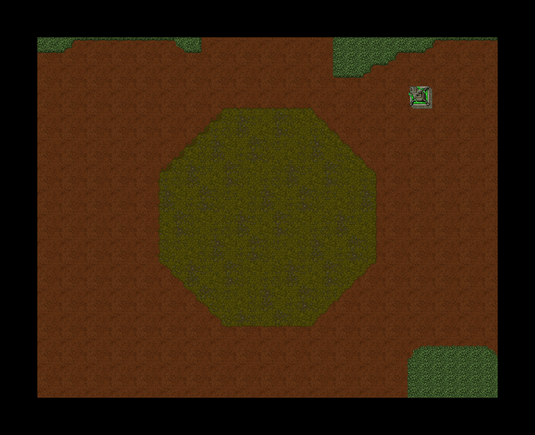
Boss chamber detail — actual map sprites, shown without monsters.


Before you enter
Every player needs level 100+, the access listed above and the selected difficulty unlocked for Gorgols. Reborn requirements use the highest reborn reached. A tradable map can drop before you complete its access quest; owning it does not bypass entry requirements.
- Keep the leader's map in a backpack and use it to open Dungeon Maps.
- Check the dungeon, layout, difficulty and rarity. Hover the layout icon for the route; S is the entrance and B is the boss position.
- Read every modifier. Choose protection against an Elemental Surge roll and consider healing, leech and movement penalties together.
- Prepare the expedition in a protection zone, outside combat. Everyone accepts within 30 seconds and stays in place until entry.
- Clear at least 95% of the counted monsters, then defeat the boss. For extra Dust, finish 100% before killing the boss.
- Collect corpse loot, return to town and use Claim rewards. Completion Dust arrives in your inbox and the next difficulty unlocks for this dungeon.
Monsters
Each layout starts with 1,000 regular monsters. The mix below repeats across the map; Crowded adds up to 250 more enemies. Enemies do not respawn. Moving packs, elite marks and map modifiers can change how a room plays.
-
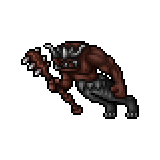
Gorgol Warrior
400 base spawns · 40% of the repeating mix -
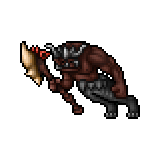
Gorgol Berserker
200 base spawns · 20% of the repeating mix -
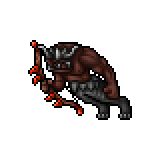
Gorgol Archer
200 base spawns · 20% of the repeating mix -
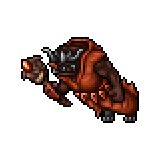
Gorgol Shaman
200 base spawns · 20% of the repeating mix


| Monster | Base HP | Base EXP | Attacks / effects |
|---|---|---|---|
| Gorgol Warrior | 102,000 | 85,000 | Melee / physical, Fire |
| Gorgol Berserker | 114,000 | 100,000 | Melee / physical, Death, Fire |
| Gorgol Archer | 96,000 | 88,000 | Melee / physical, Physical ranged / area, Fire |
| Gorgol Shaman | 96,000 | 105,000 | Melee / physical, Fire |
| Monster | Damage resistance | Other listed immunities |
|---|---|---|
| Gorgol Warrior | Physical -20% resistance; Holy -20% resistance; Ice -15% resistance; Earth -30% resistance; Energy immune; Fire immune; Lifedrain immune | Paralyze, Outfit, Drunk, Invisible |
| Gorgol Berserker | Physical -20% resistance; Holy -20% resistance; Ice -15% resistance; Earth -30% resistance; Energy immune; Fire immune; Lifedrain immune | Paralyze, Outfit, Drunk, Invisible |
| Gorgol Archer | Physical -20% resistance; Holy -20% resistance; Ice -15% resistance; Earth -30% resistance; Energy immune; Fire immune; Lifedrain immune | Paralyze, Outfit, Drunk, Invisible |
| Gorgol Shaman | Physical -20% resistance; Holy -20% resistance; Ice -15% resistance; Earth -30% resistance; Energy immune; Fire immune; Lifedrain immune | Paralyze, Outfit, Drunk, Invisible |
Positive resistance reduces that damage type; negative resistance is a weakness. A 100% immunity is not a recommended damage choice. Physical resistance rolls and elemental wards can further change this table.
- Pull controlled groups: higher tier and damage rolls apply to the same enemies shown here.
Boss and loot
-
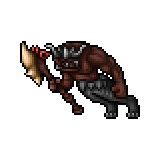
Gorgol Master — final boss

| Base HP | Base EXP | Attacks / effects |
|---|---|---|
| 3,000,000 | 2,500,000 | Melee / physical, Physical ranged / area, Fire |
Resistances: Physical -20% resistance; Holy -20% resistance; Ice -15% resistance; Earth -30% resistance; Energy immune; Fire immune; Lifedrain immune.
Other listed immunities: Paralyze, Outfit, Drunk, Invisible.
The boss appears at 95% clear. A Commanders seal also requires all three marked commanders to die. The boss receives the map's applicable combat modifiers too. If you want the full-clear Dust bonus, leave the boss alive until the counter reaches 100%.
Boss corpse loot — base rolls
These are the actual boss loot entries, not a second completion payout. The amount is a possible range, not a promise of the maximum. Base chances are before loot rates and eligible bonuses; 100% already guarantees the base roll. Completion Dust is claimed separately.
| Item | Drop | Base chance | Possible amount |
|---|---|---|---|
 |
Wad coin | 4% | 1–2 |
 |
Gorgol Hide Patch | 100% | 1–3 |
 |
Gorgol Bone Cluster | 100% | 1–3 |
 |
Gorgol Jaw Relic | 100% | 1–3 |
 |
Gorgol Steel Plate | 100% | 1–3 |
 |
Gorgol Ember Pearl | 100% | 1–3 |
 |
Orc helmet | 0.2% | 1 |
 |
Orc armor | 0.2% | 1 |
 |
Orc legs | 0.2% | 1 |
 |
Orc boots | 0.2% | 1 |
 |
Orc shield | 0.2% | 1 |
 |
Orc axe | 0.2% | 1 |
 |
Orc bow | 0.2% | 1 |
 |
Orc sword | 0.2% | 1 |
 |
Orc club | 0.2% | 1 |
 |
Orc wand | 0.2% | 1 |
 |
Orc spellbook | 0.2% | 1 |
![uber combo gem [TIER II]](/index.php/File:DungeonMaps_Item_18007_20260912.png) |
Uber combo gem [TIER II] | 5% | 1 |
![uber attribute lock gem [TIER II]](/index.php/File:DungeonMaps_Item_18010_20260912.png) |
Uber attribute lock gem [TIER II] | 5% | 1 |
![scroll of legendary essence [TIER II]](/index.php/File:DungeonMaps_Item_20267_20260912.png) |
Scroll of legendary essence [TIER II] | 10% | 1 |
All 15 layouts
The map item identifies the dungeon; its tooltip identifies the rolled layout. These are the same fifteen route shapes used across all dungeon families, dressed in this dungeon's environment. Click an image for a larger view. Use the route atlas for S/B markers and connections between floors.
-
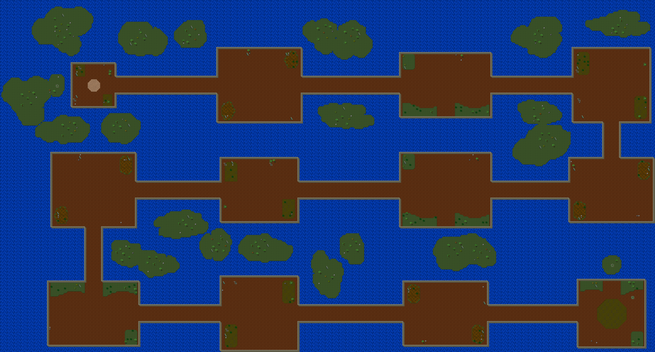
L01 — Serpentine
-
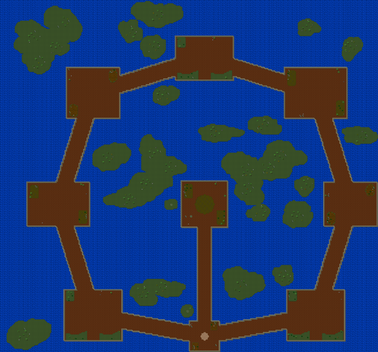
L02 — Ring Road
-
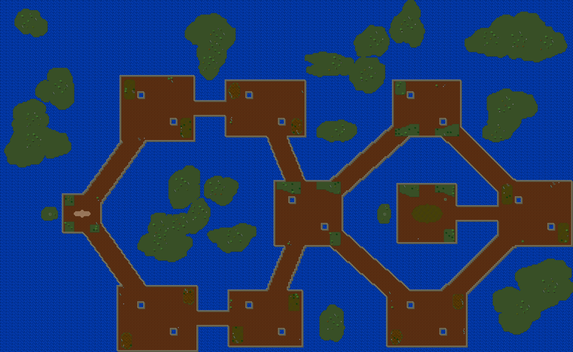
L03 — Figure Eight
-
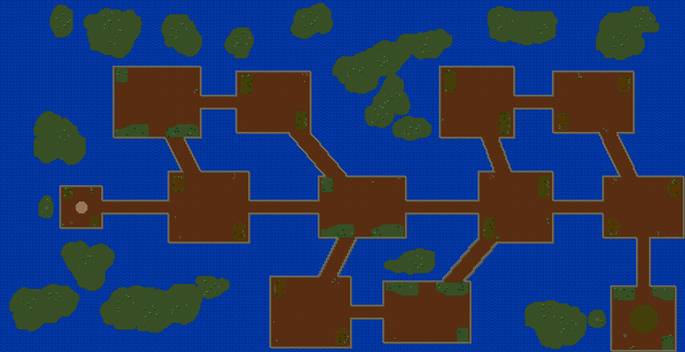
L04 — Spine
-
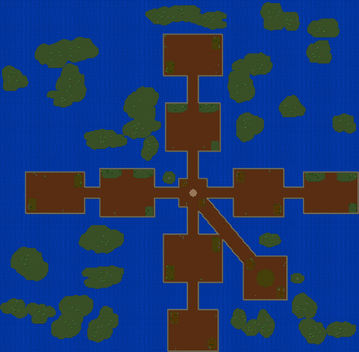
L05 — Four Wings
-
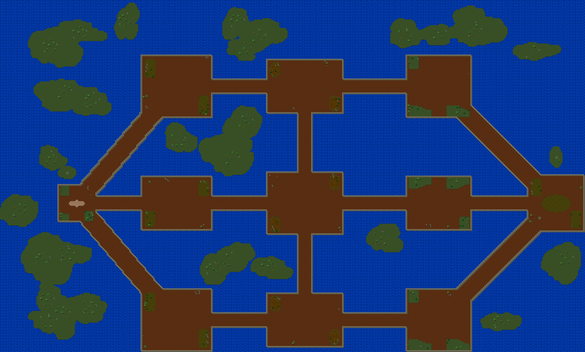
L06 — Braid
-
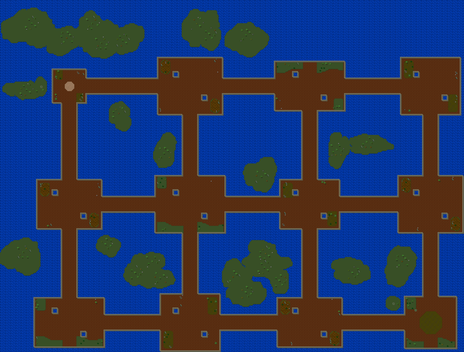
L07 — City Blocks
-
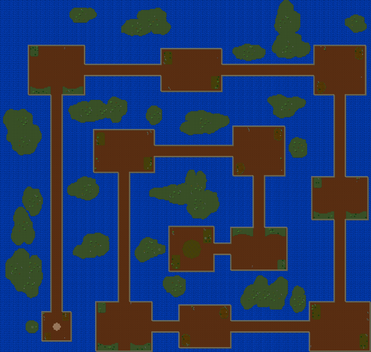
L08 — Spiral
-
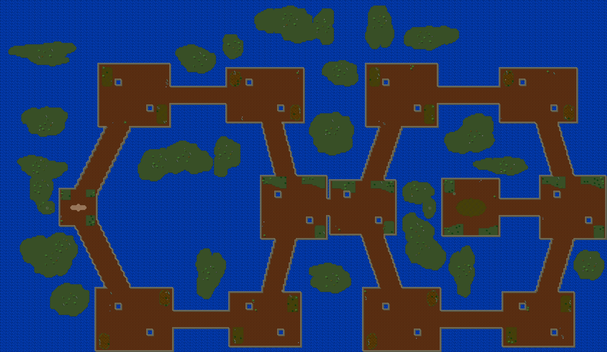
L09 — Twin Courtyards
-
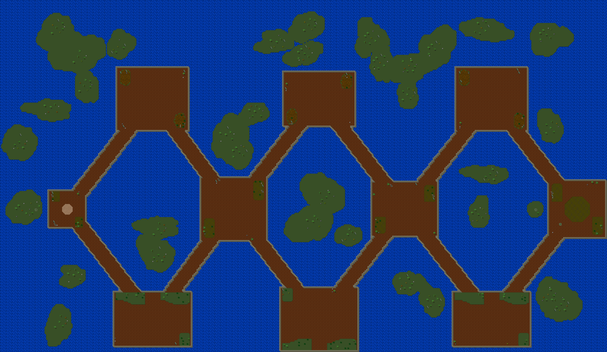
L10 — Archipelago
-
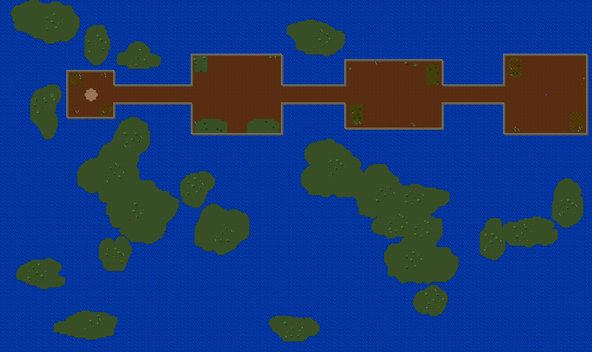
L11 — Three Terraces · floor 1/3
-
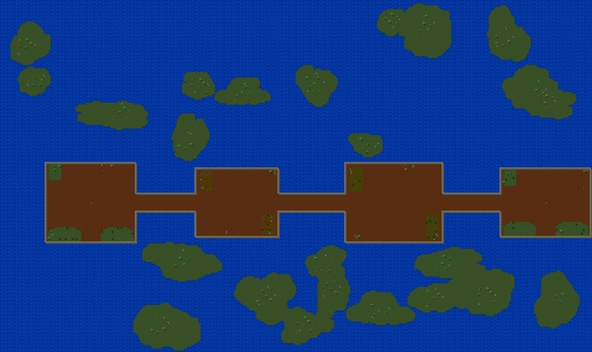
L11 — Three Terraces · floor 2/3
-
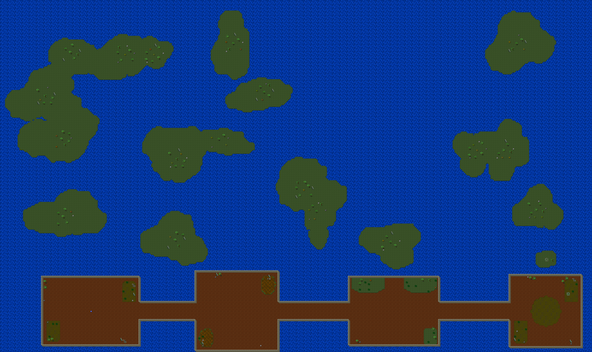
L11 — Three Terraces · floor 3/3
-
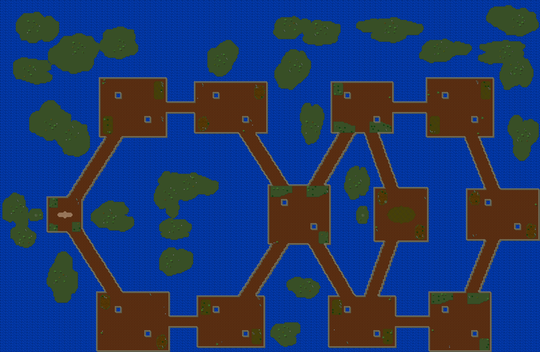
L12 — Honeycomb
-
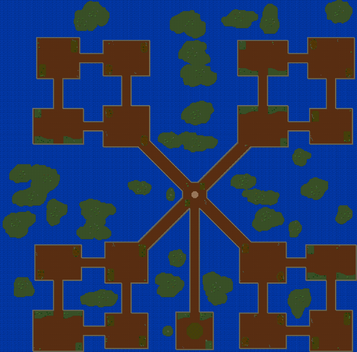
L13 — Four Sectors
-
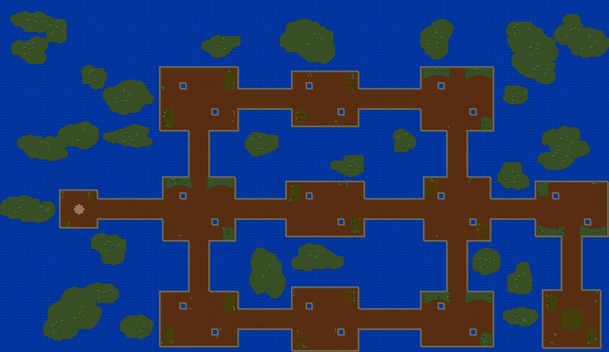
L14 — Great Hall
-
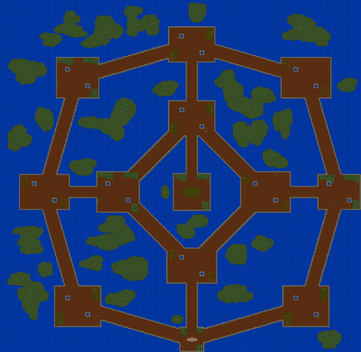
L15 — Citadel


Guide snapshot: 12 September 2026. Artwork uses the official client's sprites and prepared dungeon maps. Monster statistics and loot tables below are base values, before difficulty, map and character bonuses.