Rorina part 5 Quest Spoiler: Difference between revisions
Wearetibia (talk | contribs) |
Wearetibia (talk | contribs) |
||
| (One intermediate revision by the same user not shown) | |||
| Line 77: | Line 77: | ||
=== Part 2 – Obtaining the Quest Key === | === Part 2 – Obtaining the Quest Key === | ||
[[File:RR5 P2 A.png|left|thumb]] | [[File:RR5 P2 A.png|left|thumb]] | ||
[[File:RR5 P2 B.png|thumb|545x545px]] | [[File:RR5 P2 B.png|thumb|545x545px|center]] | ||
| Line 223: | Line 223: | ||
== Quest Complete == | == Quest Complete == | ||
Congratulations — you have completed '''Rorina Quest – Part 5'''. | Congratulations — you have completed '''Rorina Quest – Part 5'''. | ||
Continue your adventure in [[Rorina | Continue your adventure in [[Rorina part 6]]. | ||
For maps and visuals, see the [https://wearedragons.info/index.php/Rorina_part_5_Quest_Spoiler official WeAreDragons quest spoiler page]. | For maps and visuals, see the [https://wearedragons.info/index.php/Rorina_part_5_Quest_Spoiler official WeAreDragons quest spoiler page]. | ||
Latest revision as of 22:09, 10 October 2025
Rorina Quest – Part 5
Rewards
Hard Mode Only
- Scroll of Golden Account (30 days)
- 250 000 Gold
- Heavenly Backpack (28 slots)
- Godly Bracelet – increases regeneration rate
- Full Heavenly Set (Helmet, Armor, Legs, Boots)
All Modes
- One of the following weapons:
- Heavenly Crossbow
- Heavenly Axe
- Heavenly Hammer
- Heavenly Sword
- Heavenly Wand
Requirements
- Completion of Rorina Quest – Part 4
- Level 90 + (to obtain the key during Part 2)
- Mysterious Violet Gem – reward from Part 4
Locations
- Folda
- Heavenium Island
Enemies
Monsters
- Hellfire Fighter
- Grim Reaper
- Hellhound
- Witch Agatha
- Demon Father
- Drakens (various types)
- Black Templar
- Solar Dragon
- White Dragon
Bosses
- Rorina the Ancient One
- Farina Sister
- Farina Soul
- Mutated Farina
- Merythathor
Quest Walkthrough
Part 1 – Gaining Access to Heavenium Island
Carry your Mysterious Violet Gem (in the main backpack) from Part 4.
1. Travel to Carlin and follow the red arrow on your map toward Folda.
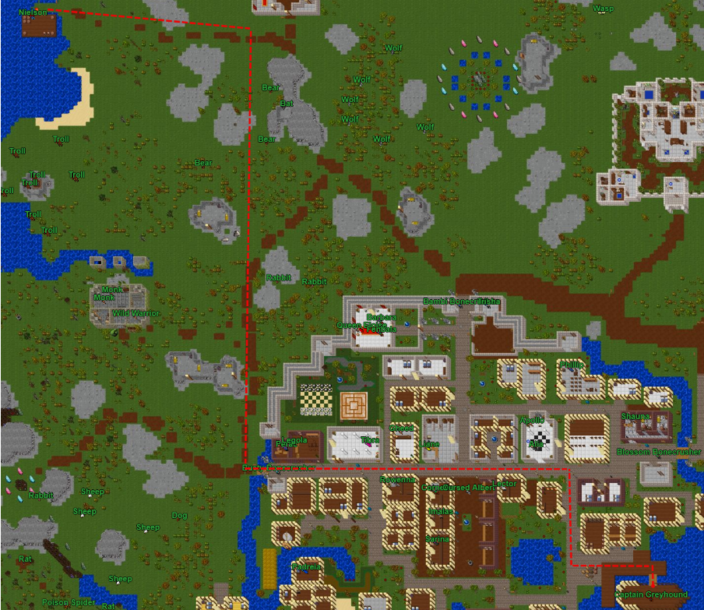
2. Speak with the dock NPC in Folda and sail there.
3. Head northeast along the shore until you locate a small hidden hole behind a tree.
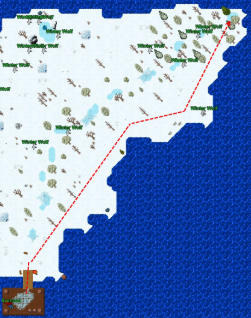
4. Jump down and run east.
If you have the Violet Gem, you’ll pass through the magic wall. Without it, you cannot proceed!

5. Rope yourself up on the other side and continue forward to find a chest.
6. Open the chest to be teleported outside.
You now permanently unlock access to Heavenium Island!
Part 2 – Obtaining the Quest Key
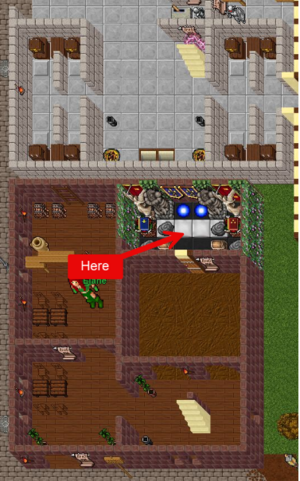
Return to Thais and head south of the depot to reach the newly unlocked Heavenium entrance.
1. After teleporting inside, leave the temple and descend the stairs.
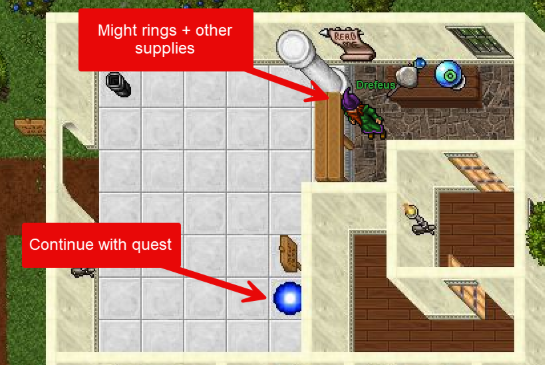
2. Enter the eastern building. Inside you’ll find NPC Drefeus, who sells Might Rings and other supplies.
3. Step into the teleport to begin the quest instance.
Key Acquisition
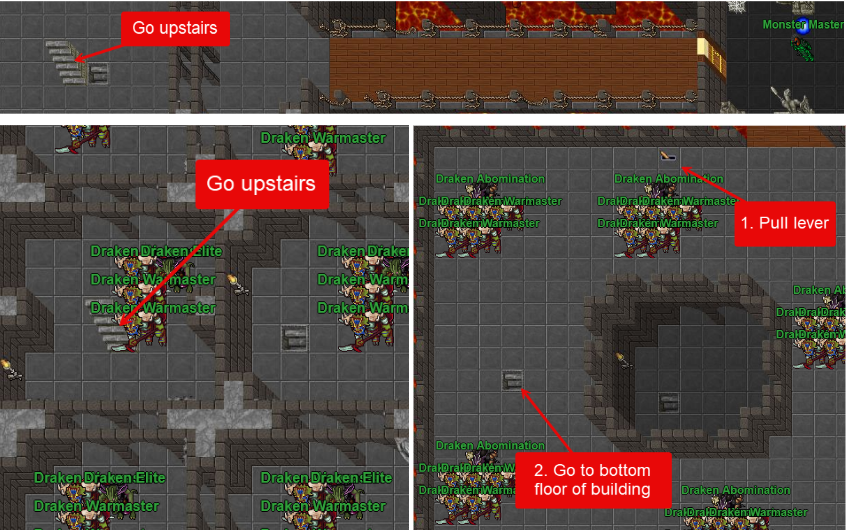
- Move west and climb to the rooftop.
- Pull the lever to the right.
- Descend several floors until you reach a chest on the bottom level.
- Open it to obtain Key (25603).
Return to the starting room and use Key 25603 to unlock the east door.
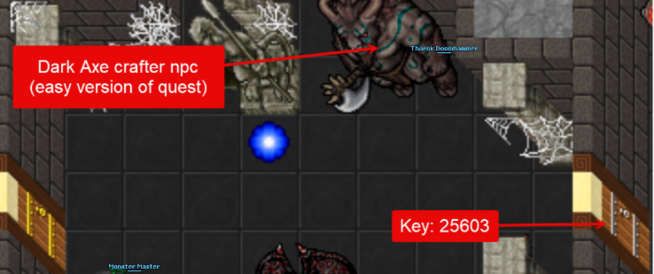
Part 2.5 – Optional Path: Crafting the Dark Axe
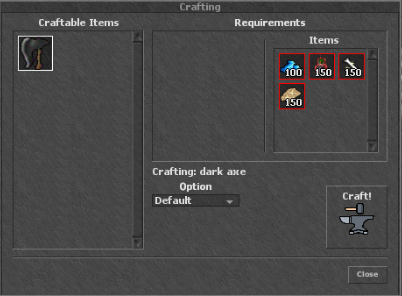
To skip the final boss and finish the Easy Version, craft a Dark Axe.
Speak with NPC Tharok Doomhammer and use:
hicrafting
Required Materials
- 1 000 000 Gold
- 150 Life Essences
- 150 Magical Bones
- 150 Magical Leather
(All dropped by Demonic-type monsters in this quest line.)
Part 3 – Main Quest Area
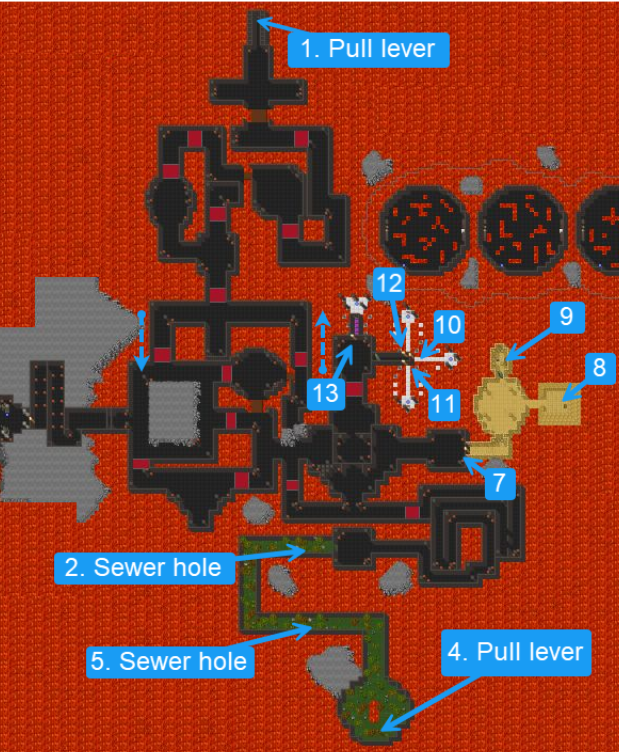
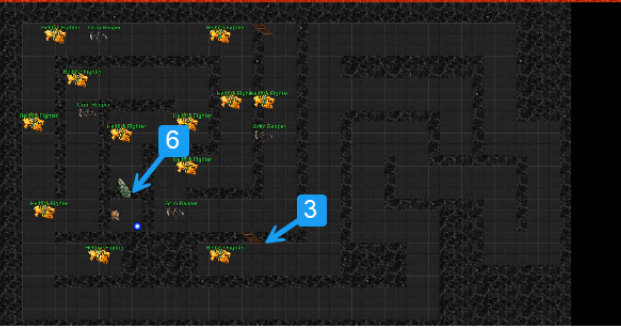
Follow the numbered route shown on the quest map:
1. Point 1 – Lever – Pull it; two Demon Fathers spawn nearby.
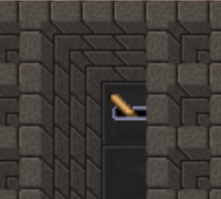
2. Move as shown by the blue dotted arrow.
Stepping on red carpets drops you into a trap with one Demon Father—defeat it and climb back up.
3. Proceed to Point 2 – Sewer Hole → descend.
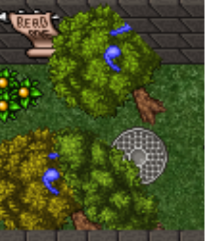
4. Continue to Point 3 → climb up ladders.
5. Reach *Point 4 – Hidden Lever (behind a tree); pulling it spawns two Black Templars.
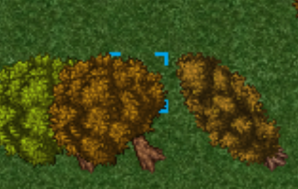
6. Head to Point 5 – Sewer Hole and descend again.
Because the previous lever was pulled, the barrier at "Point 6" disappears.
7. At Point 6, open the chest to obtain Purple Key (25604) and use the nearby blue teleport.
8. Run to Point 7 and open the door with Purple Key (25604).
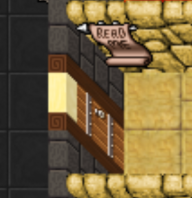
9. Move to Point 8 → descend, defeat Merythathor, and pull the lever.
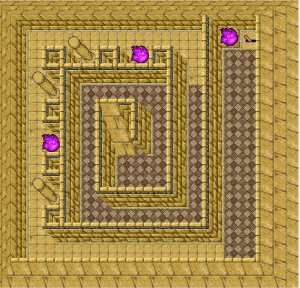
10. Go to Point 9 – a chest is now accessible; open it to obtain Key (25605).
11. Proceed to Point 10, open the next door with Key 25605, and step into the teleport.
You’ll now enter the first mini-boss room: Farina Sister.
- Defeat her (or evade).
- Loot Key 25606, step on the throne, then use the south teleport.
Repeat this pattern:
- Mutated Farina → Key 25607
- Farina Soul → Key 25608
Use the final key to unlock the door at Point 13.
The next chamber verifies completion of Rorina Parts 1–4 and that all thrones were activated.
Part 4 – Easy Version (Skip Final Boss)
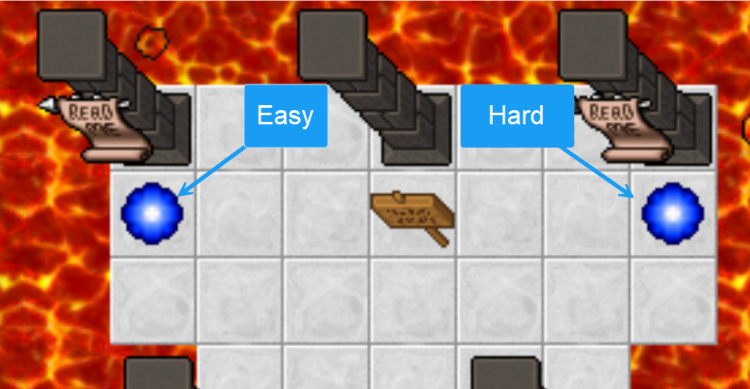
If you crafted the Dark Axe, take the Left portal.
1. You’ll appear in a ritual room with an altar.
2. Place the Dark Axe on the marked pedestal.
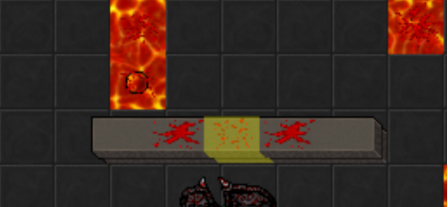
3. You’ll be teleported directly to the Reward Room.
- Choose one weapon reward.
- After collecting, walk south and step into the exit teleport.
This completes the Easy Version of the quest.
Part 4 – Hard Version (Final Boss Path)
Recommended for strong teams or highly geared solo players.
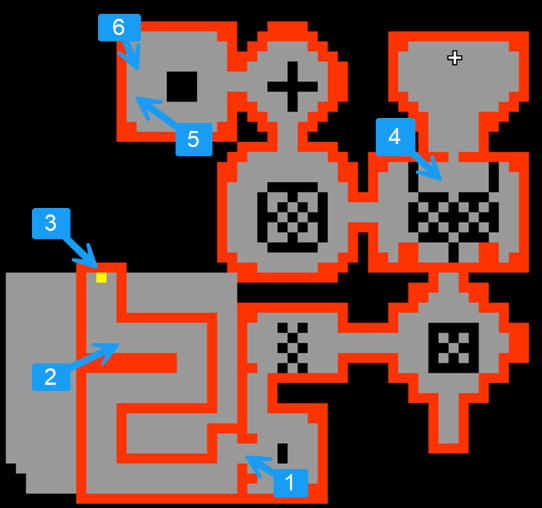
The boss inflicts a healing-reduction curse — bring a Druid or life-steal gear.
1. Enter the right portal.
2. Follow the corridor to Point 1, where floor tiles alternate between white and black.
stepping on white tiles summons Draken monsters at Point 2. Too many wrong steps teleport you back to the start.
3. Reach Point 3 to move to the next zone.
4. Point 4 – recommended staging area for teams.
5. Proceed to Point 5 – the Final Boss encounter.
You may pull the boss to your group or fight on site.
6. After the boss falls, a Reward Portal appears at Point 6.
   Enter to reach the Reward Room.
   Collect all available rewards, then exit south via the final teleport.
Quest Complete
Congratulations — you have completed Rorina Quest – Part 5. Continue your adventure in Rorina part 6.
For maps and visuals, see the official WeAreDragons quest spoiler page.
Tip: In Hard Mode, the boss’s healing curse can quickly overwhelm unprepared players. Stack holy and fire resistances, use AoE spells to control Draken waves, and coordinate healing for maximum survival.
